Sunday, June 26, 2011

We're going from BORING to BRILLIANT ~ Are you ready for this?!

This project makes me think of that good old chic flick Princess Diaries. At first she looks, well, not great. Then, with a little elbow grease and special tools, the beautifying guru shines her right up and makes her look like a sparkling diamond.

This is how I bought them. They would have been fine just like
this but I knew I could make them really special.


My kitchen is in need of an anti-neutral makeover (minus the bright blue 
painters tape rimming my windows). However, until I can 
afford to paint my cabinets, put in a back splash, new flooring and new sink, 
some less pricey projects will have to do for now! And yes, taking this 
picture from above was a tricky one - don't try this at home folks! :)


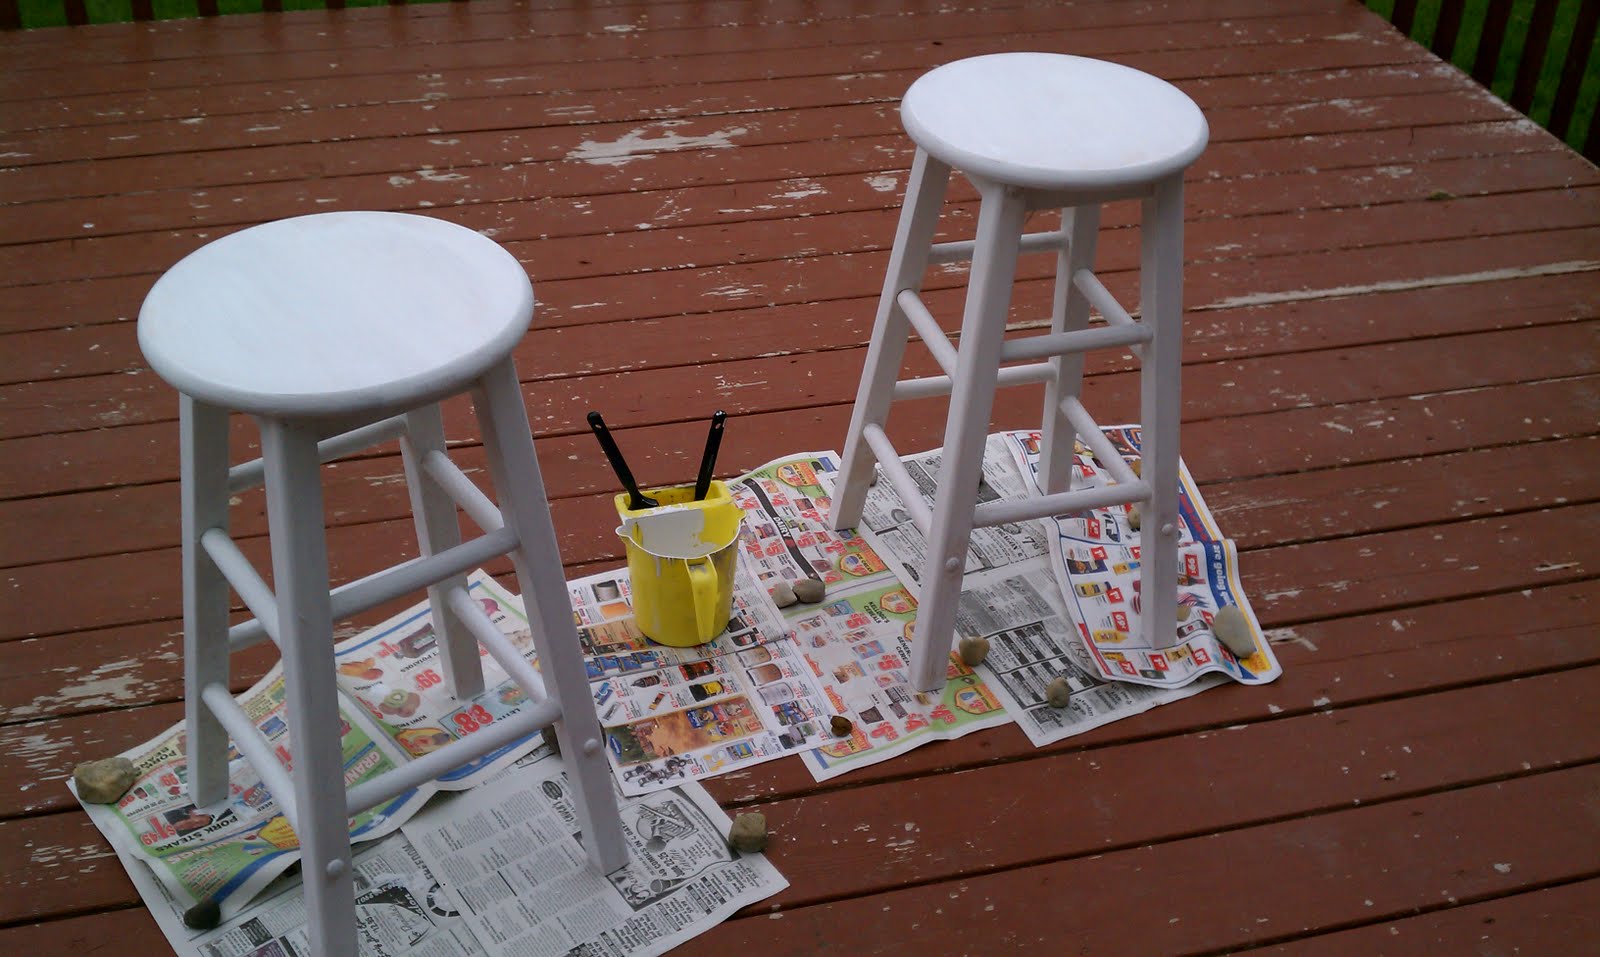
First I primed them. I found a can of spray paint primer after I had 
already used my interior latex primer that I use for my walls. This worked but
it took forever! So I really wish I'd found the spray primer before! Ha ha


This was hubby's idea and it worked great! The color I used was Rust-oleum's 
green apple in a Satin finish. I thought a gloss finish would be cool
but this color didn't come in gloss. This was the ultra cover spray paint which
is like 2 cans in 1.  One did cover both - but barely! I used a 
second can to do touch ups and now I have extra! I'm already
scoping out my next contestant, ha ha


Oh how these make me smile every time I walk into my kitchen. They are like a
burst of green apple deliciousness! I thought about going over them
with a bit of stain to tone them down a bit and give them a rustic look, but I
decided I like them this way. If it's too bright for you, give them a light sanding,
exposing the original wood here and there, then rub on a darker stain.


Now these babies are ready for their photo shoot! I just love the compilation of
greens and whites in this picture. I may have to use this as inspiration for
my kitchen makeover :)

For the love of color and green apples,
Steph

Wednesday, June 22, 2011

What makes a fun accent wall? Well stripes of course!!!

I knew I wanted to do a wall of stripes and decided our fireplace wall was begging to be the chosen wall who gets to wear this awesome feature.

This was how the wall started out.  Not the worst thing I'd ever seen
but even though red is actually my favorite color (I even painted
my room red when I was a teenager) it just isn't my style.
Plus, I love decorating, of course I'm repainting everything!
We gave it a nice coat of Valspar's interior latex primer
(getting those edges can be tricky, but just go in with a big
brush and a steady hand to get a nice crisp line) I liked it better already :)
I wanted an odd number of stripes. 5 stripes seemed like
they would be too big and 9 felt to busy to me so 7 was the magic number.
We measured the wall top to bottom, divided it by 7 then marked
out the lines with paint in about  1ft. increments.  During this step
you'll probably get comments like "Are you sure you're doing this right?"
and that's because you dont have to be as careful during this
step and we made the lighter stripes a little wider than needed in order to do the next part...

We got out our handy dandy lazer level and taped away! (Unfortunately, I don't have a picture of this step because my camera seems to have deleted it. Picture this wall with green tape and both colors painted on) We laid the tape on top of the light color, so our messy edges were ready to be painted over with our darker blue. When you're doing a project like this you want your lines to be PERFECT, so paint bleeding through is a concern. Ready for a great TIP?! Here it is!! ***Get all your tape on the wall. Then BEFORE you start painting your second (darker) color -take a brush and seal the side of the tape your are about to paint with the SAME (lighter) color that is already on the wall. That way if anything bleeds through, it's of the same color, so it doesn't actually ruin the line. *ALSO make sure you peel your tape off while the paint is still wet!

I just love this wall now. That moment is always a little nerve wracking
when you pull the first strip of tape and hope that you don't find a
blotchy mess of smeary lines. I'm happy to say that with the exception
of probably 2 tiny little touch ups, our lines turned out PERFECT!
 (Thank you Frog Tape!) Now I'm keeping my eye open for the perfect
mirror to put in that empty spot! One of these days
I'm gonna paint that fireplace too... cream I think :)
Colors I used were Behr's Blue Fox (the darker blue) and Behr's Cloudy day (lighter blue). In a Satin finish.

Blue Stripes and Frog Tape,
Steph

Friday, June 17, 2011

You can't have too many refrigerator magnets... Right??

This fridge may have gone a little bit overboard on the magnet-mania, but just in case your fridge is like mine right now and needs a little "sprucing up" I have a super easy way to get fun, creative magnets that will cost you ZERO dollars!
[fridge+magnets+002.JPG]

Isn't this hilarious? Apparently this is at some airport in London... Giant eggs and bacon anyone??? Ha ha ha
10895_vod_fridge_magnet_for_press_t

So the other day I looked at our refrigerator magnets and decided to do something with those "business card" ones that are not so cute. I got to thinking and dug around in my drawer of ribbons, paper, stickers, tissue paper, fake flowers and other jewels & jems, and turned those not-so-special magnets from boring to beautiful!

I used Aleene's Tacky Glue for the buttons but I also tried Elmer's and it also worked just fine. To make sure they wouldn't fall off I made sure to let them dry completely. The blue background is just one of those free paint swatches you can get in any home improvement store. I cut it to fit the magnet and taped it on (that way I can peel it off and change it out if I want :) The metallic one I think is a side of a tissue box that I had cut out. Some other great ideas to use are wrapping paper, stationery, gift bags, greeting cards - anything!  You can also trace the magnet around your favorite picture instead of paying to have it made into a magnet - Voila! Instant personalized magnet... for FREE!!
Or maybe, if you're trying to motivate yourself not to devour the rest of that mint chocolate chip ice cream in the freezer make one that quotes "Bigger snacks mean bigger slacks" or if that's not your style you could quote Miss Piggy "Never eat more than you can lift!" Ha ha

Now you will have something pretty to look at before you dig into the rest of that ice cream in your freezer! Have fun, get creative and best of all... Spend NO money!!!

Magnets and ice cream, 
Steph

Thursday, June 16, 2011

Simple "Trash to Treasure" Project!

I was so struck by what beauty could be made of something most people use for about 30 seconds and then throw in the trash where it spends the rest of its life collecting dust and ants and probably many other unwanted things!

This idea comes from anthropologie, who has so many amazingly creative displays in their stores and windows!


How to do it?!
*All you need to do is be a major pop drinker (or just request to have all the recycled bottles from your work like I did!) These were actually harder to cut through than anticipated so I used an exacto knife to start the cut, then used scissors to cut the bottoms clean off. 
*Next, cut strips all around the bottle (it will look sort of like an octopus after this part, hehe) Curl back all of the "tentacles" by just wrapping each one around your finger. 
*Now you can get creative and shape them like petals. Then the fun part... painting!!
***Note: I used washable paints but some of them peeled after drying :/  I would recommend either acrylic paints or ideally - spray paint!

Ta Da!! Here is the beautiful, floating, recycled, flower garden that now brightens our room at the childcare center I work at. The kids love it and so do I. We're now collecting more bottles to make even more flowers!

Plastic bottles and flowers,
Steph:)